pfsense Installation tutorial
一、Brief introduction
The pfSense Project is a free open source customized distribution of FreeBSD tailored for use as a firewall and router entirely managed by an easy-to-use web interface. This web interface is known as the web-based GUI configurator, or WebGUI for short.
- Project Inception
pfSense software was forked from the m0n0wall open source project in 2004. m0n0wall was focused specifically on providing a firewall/router for embedded devices and was sized for limited hardware resources. Initially pfSense software aimed at providing a firewall/router solution with an expanded set of capabilities on larger PC and server style hardware. pfSense software has continued to evolve over time, providing firewall, router, VPN, IDS/IPS, and more capabilities that work well on hardware from small home office size devices to large service provider size servers
- Virtual machine platform:ESXi Host Client
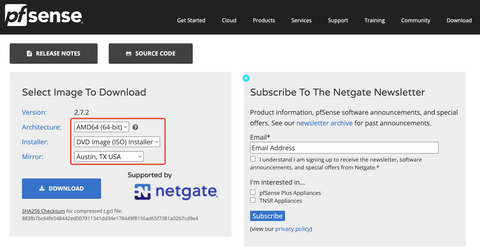
- pfSense Version:2.7.2
二、Installation Steps
1.Download the ISO from the official website
三、Create /Register VM
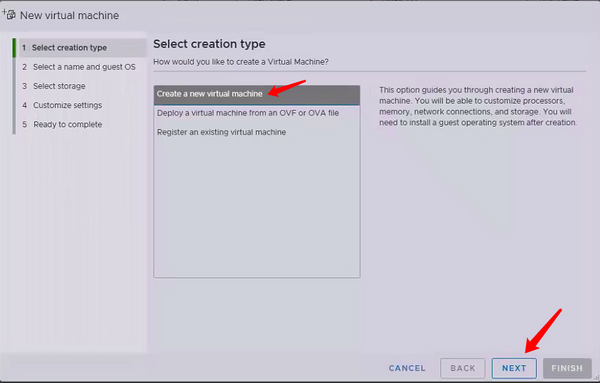
1.New Virtual machine
- select creation type
New a new Virtual machine
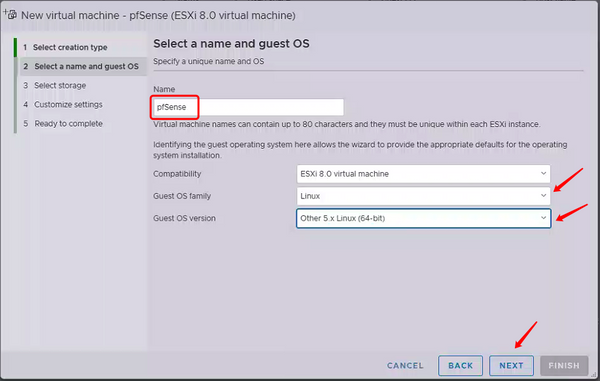
2.select a name and guest OS
3.Select storage
- By default, select Next
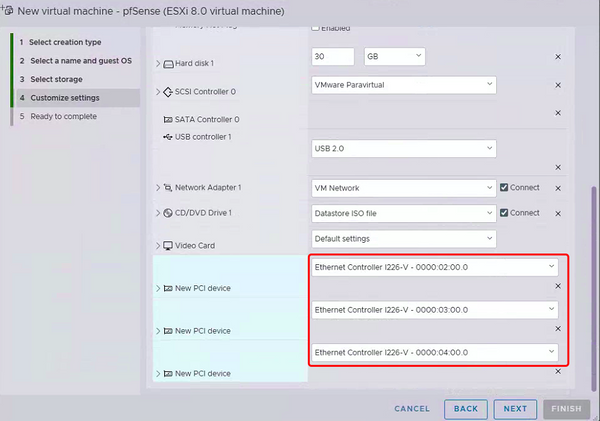
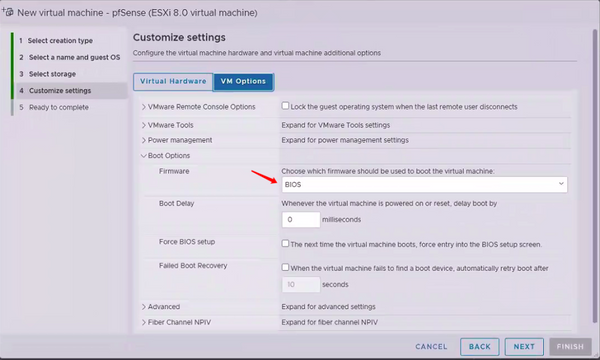
4.Customize settings
- CPU allocation 2 cores,Memory allocation 2GB and locked memory)
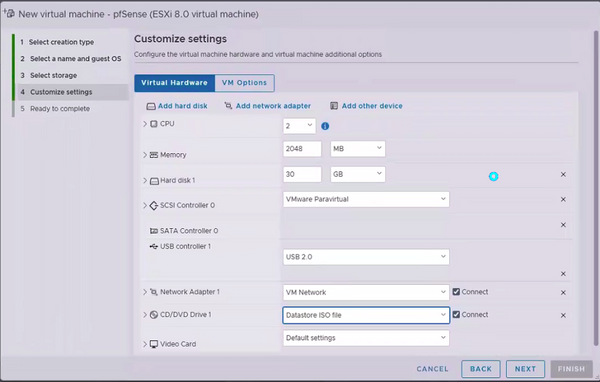
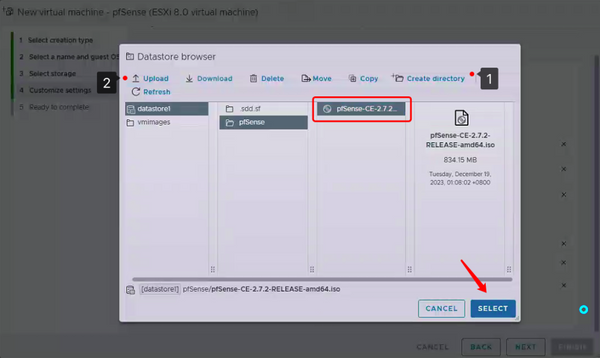
- CD/DVD Drive select Datastore ISO file
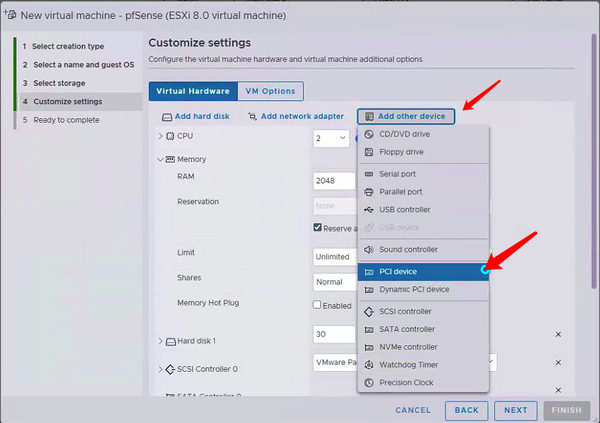
- Add PCI device
- Boot Options select BIOS
5.Ready to complete
- Confirm the information: Click FINISH
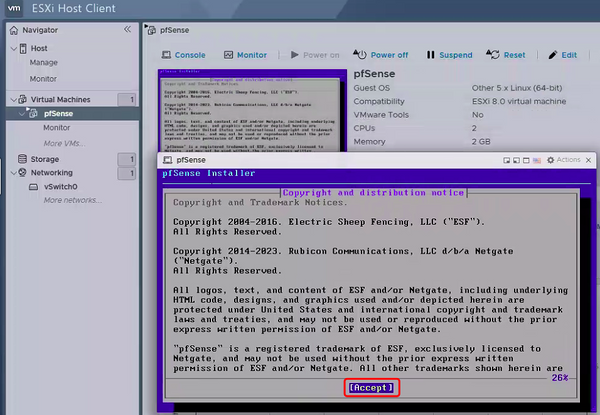
四、pfSense Installer
- power on, The system automatically runs a piece of code。
- Accept, Follow the Enter key when prompted to confirm
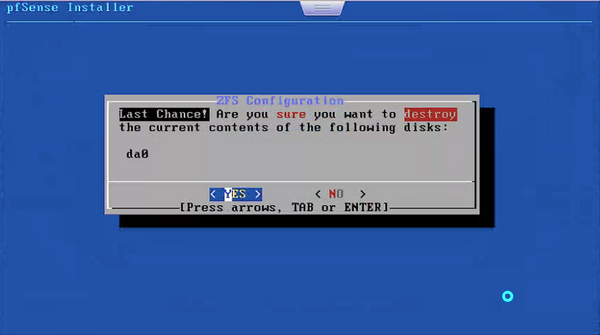
- Press the spacebar to select the hard drive
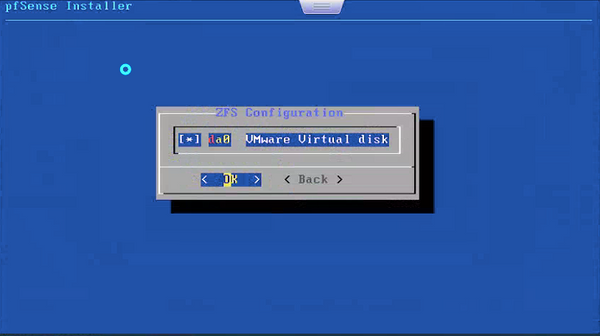
- select <YES> Press Enter to confirm
- Select Reboot when prompted
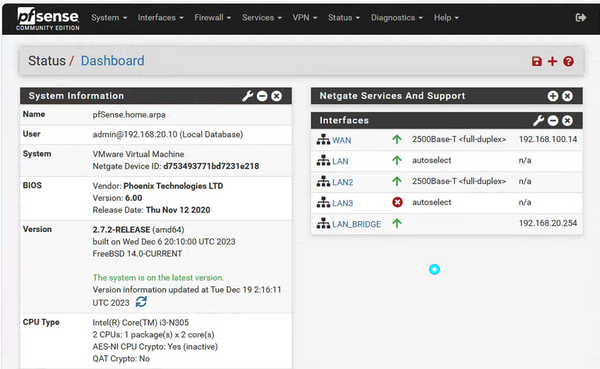
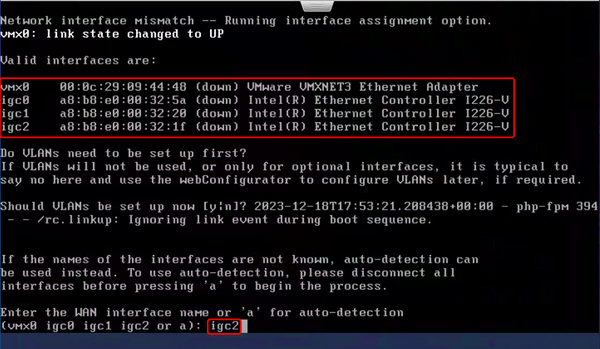
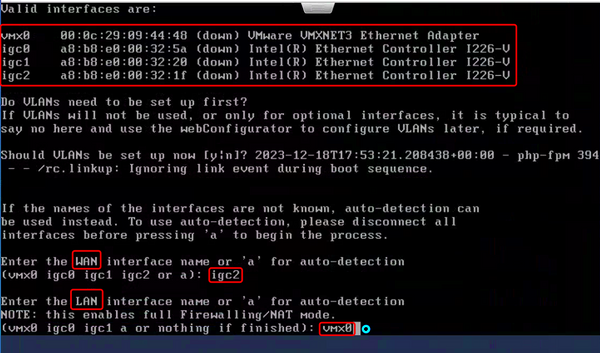
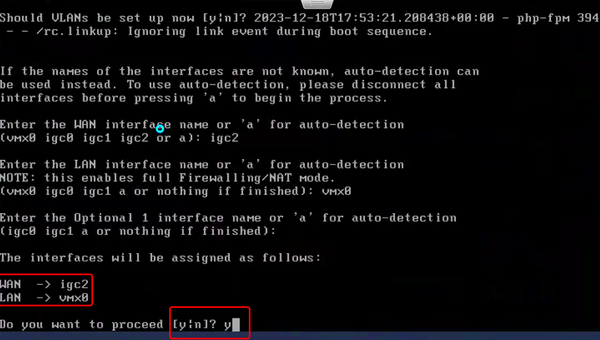
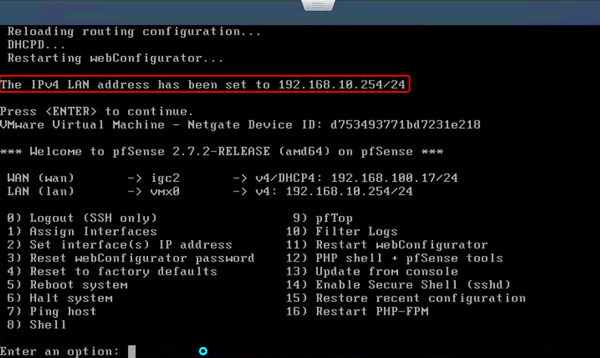
igc2 is set to WAN
- set interfaces ip address
Go to the following page, select 2, configure the IP address of the LAN port, and set the IP address, subnet mask, and gateway as prompted.
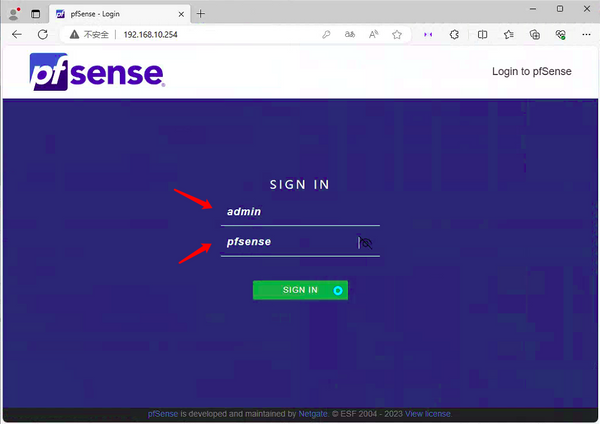
五、sign in pfSense
- Use the browser to access the IP address 192.168.10.254, the default account admin, and the password pfsens
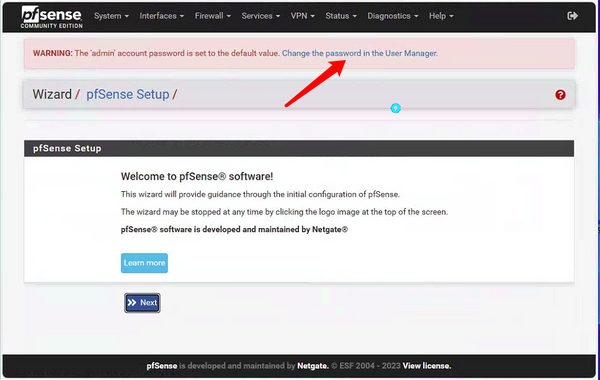
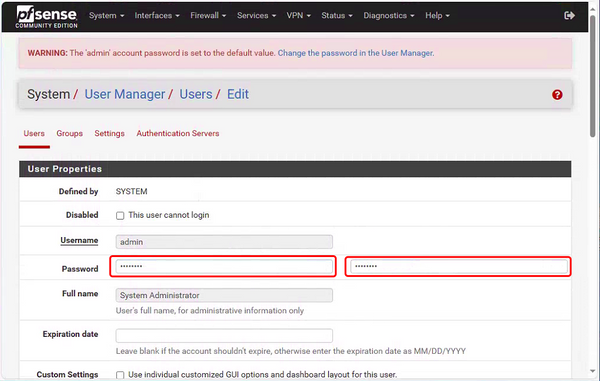
1.Change the password
- Enter your password twice and click Save
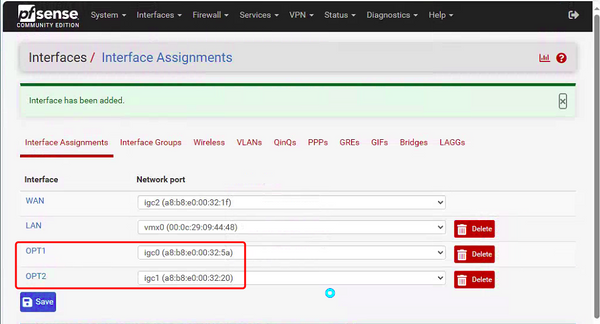
2.interfaces
- Click assingments add ports, Add OPT1 (igc0)and OPT2( igc1).
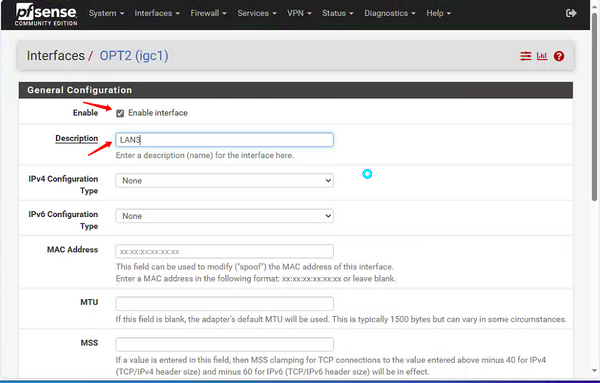
- Click OPT1 Enable interface,Description is changed to LAN3.
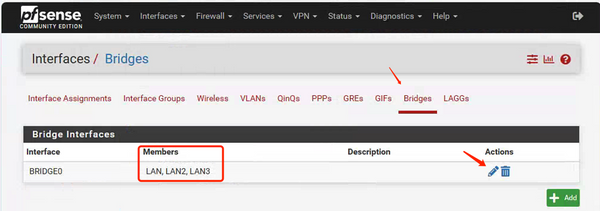
- bridges
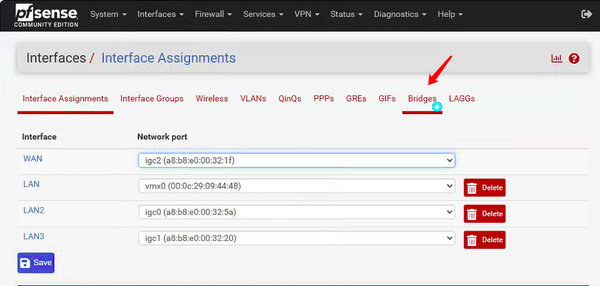
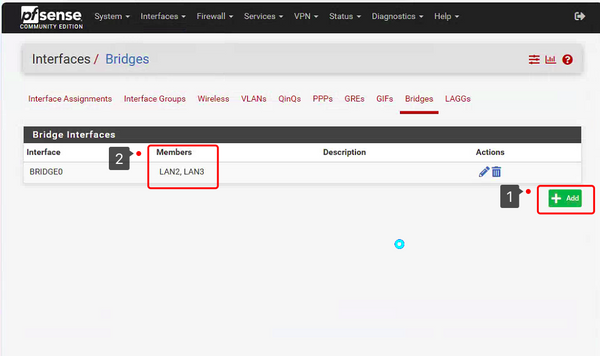
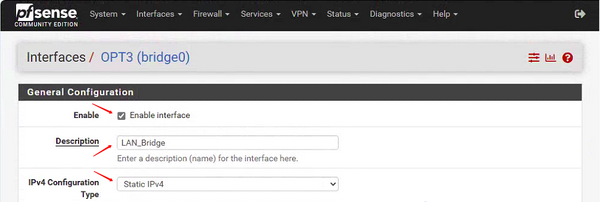
- Interfaces Assignments add BRIDGE0 and change OPT3 to LAN_bridge,select Static IPv4.
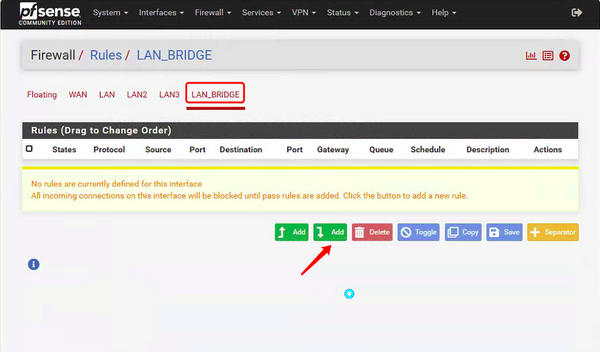
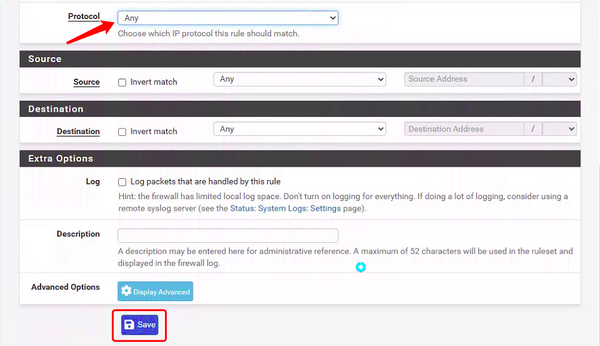
3.Firewall Rules
- Add a firewall rule
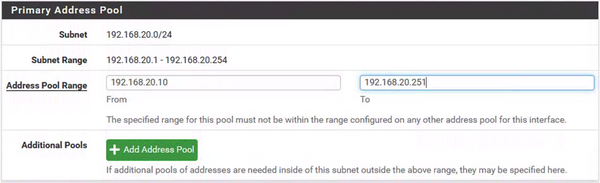
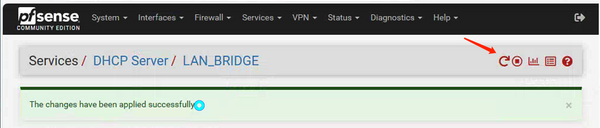
4.Services DHCP
- Services DHCP Server LAN_BRIDGE,Enable DHCP server on LAN_BRIDGE interface,Add an IP address pool,NDS Servers 8.8.8.8/223.5.5.5, add gateway 192.168.20.254.
- Click Restart Service
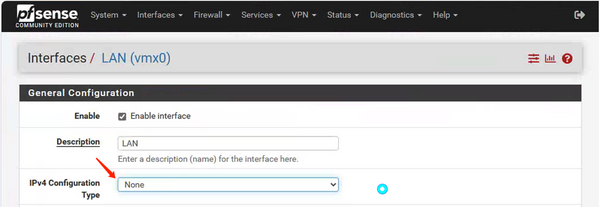
- Set the IP address of the computer to DHCP to be obtained automatically,Switch the LAN socket from ETH0 (LAN) to ETH1 (LAN1);On the LAN port, select IPv4 Configuration Type as None.
- Edit and add LAN in bridges
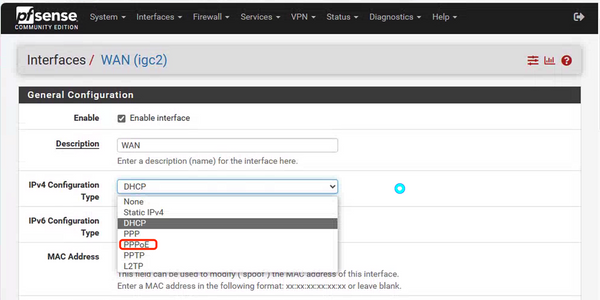
5.WAN interfaces
- You can choose which way you want to connect to the internet