Win11 Installation Guide
1、Device


2、USB flash drive
Microsoft's official website provides three download methods, and the second method is recommended (marked in the figure below), which is easy for novices to operate.
Once the download is complete, run the installation software.


Select language and edition.

Select the way and location to save Win11 files, here select USB flash drive.


The system download needs to wait for a while, and then click Finish when it is done.

3、Install System
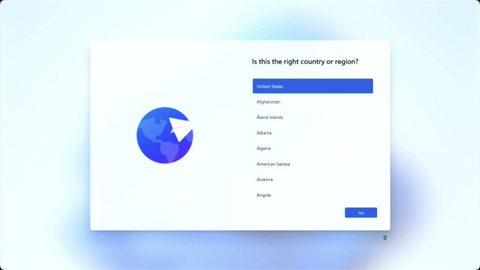
Insert a USB flash drive into the computer to boot up, wait for the system to enter the installation page, and select according to the prompts.


After agreeing to the license, select Custom Installation.

Select the installation disk and install it, and the system will automatically restart after the load is complete.


If you don't have a wireless network,you can enter the code to skip networking.Press Shift+F10 on your keyboard to open the command window.Press Enter to continue.


There's one more option here-I don't have internet. After selection, proceed to the setup.

4、Update the driver
After the system is installed, then use the driver package to update the driver; there is a driver package in the network disk, download the driver package to the computer desktop.
Right-click on the Win icon and select Open Device Manager.

Select Action, then select Add Drivers, and click Close when the drivers are loaded.


Restart the computer, then open the Device Manager to see the driver update, all the driver updates are completed and you can use the computer normally.

